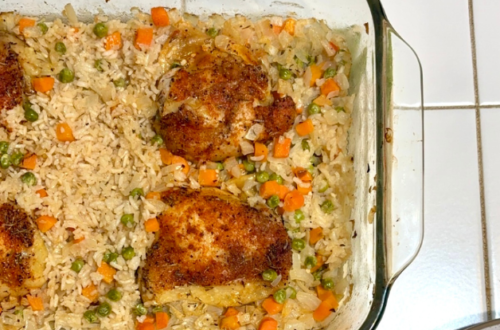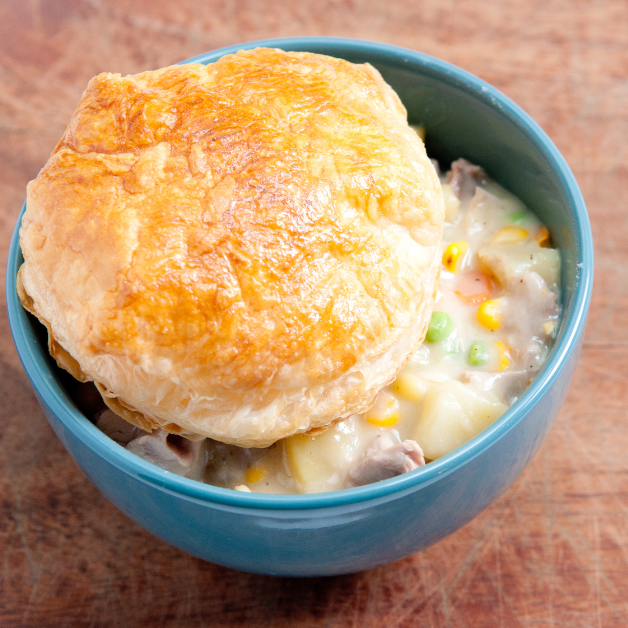
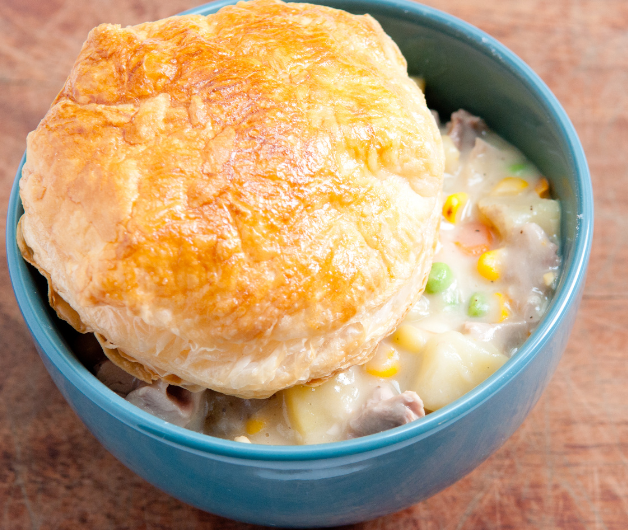
This Lazy Girl’s Chicken Pot Pie only takes a few minutes to put together and will be a guaranteed family favorite!
While I would love to be able to cook everything from scratch straight from our garden, with two children that is just not feasible some days. After chasing around my toddler and taking care of my newborn, I just need something quick and easy to throw together.
What Makes this a Lazy Girl’s Chicken Pot Pie?
- The Crust: This recipe calls for the premade piecrust from your local grocery store. This saves me so much time in prep-work when I don’t have to make the crust from scratch.
- The Chicken: To make this recipe easier (and stretch across several meals), I will buy a rotisserie chicken and shred that up. Then I can use as much chicken as I like in my pie filling, use the extra for another recipe, and then the bones for a delicious chicken broth!
- The Filling: Instead of standing over a stove making a gravy for filling or going out to the garden to harvest fresh peas and carrots, I use cream of chicken soup and frozen vegetable blend. This allows me to quickly mix up the filling. With the time I am not spending chopping and stirring, I am now able to spend with my family!
By doing those 3 simple things you can have a delicious chicken pot pie without all the hours of prep that comes with it!
Lazy Girl’s Chicken Pot Pie
Course: DinnerServings
8
servingsPrep time
30
minutesCooking time
40
minutesIngredients
Rotisserie Chicken- Shredded
10.5oz can Cream of Chicken Soup
1/4 cup milk
1/2-3/4 bag of Frozen Peas and Carrots
Rosemary- to taste
Thyme- to taste
Salt and Pepper- to tase
Premade Pie Crust
1 egg yolk
Directions
- Preheat your oven to 350 degrees and set out your premade pie crust. This will help it be a little more pliable when putting it into your pie dish
- In a large mixing bowl mix together your shredded chicken, cream of chicken soup, frozen vegetable blend, and seasonings. Once mixed together, add the milk to reach your desired thickness. You’ll want the filling to be sort of thick because the vegetables will release moisture
- Roll out the pie crust into a grease pie dish
- Add your pot pie filling to your pie crust. You’ll want to fill it as full as you can without it spilling over.
- Add the second pie crust on top of your pie filling and crimp/ seal your crust edges together. Cut to small slits in the top center of your pie crust to make an “X” in the middle of the pie. This will allow steam to escape. Brush the egg yolk on the top of your pie crust to give it a beautiful golden color while it cooks
- Allow your pie to bake for 35-40 minutes. Check your pot pie about halfway through. You may need to add aluminum foil around the edges of your pie pie to keep the crust from burning.
- Once your crust is golden brown and the filling is bubbling, pull you pot pie out of the oven.
- Finally, allow your pot pie to rest until it is still warm, but not piping hot. I like to let mine rest at least 15 minutes, but the longer the better. Allowing it to rest will allow the filling to set up and not become a soupy mess when you cut into it. Enjoy! 🙂